Best Ways to Clean Bathroom Tiles and Avoid Mold Growth
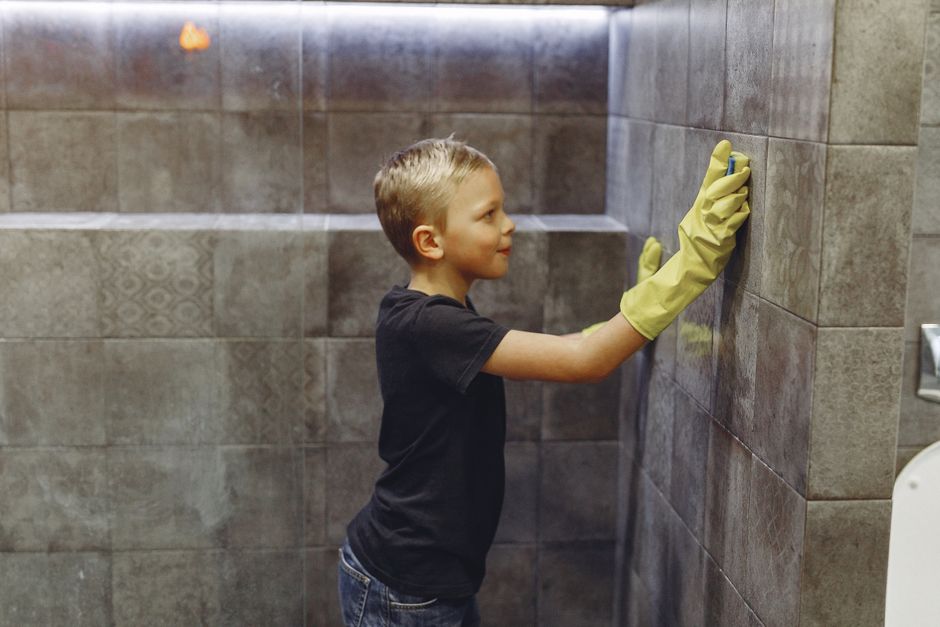
Bathroom tiles often face exposure to moisture, humidity, and soap residue, creating an environment where mold can develop. Over time, this can affect both the appearance of the tiles and the overall air quality in the space. Understanding how to clean bathroom tiles effectively while addressing the conditions that allow mold to grow is a practical step for maintaining a clean and functional bathroom. This article outlines methods for cleaning tiles and grout, as well as strategies for reducing the likelihood of mold recurrence.
Mold growth in bathrooms is not solely a cosmetic issue. It can also contribute to musty odors and potential health concerns for individuals with sensitivities. While cleaning removes existing mold, long-term prevention depends on factors such as ventilation, routine maintenance, and the materials used in the bathroom. The following sections provide an overview of cleaning techniques and preventive measures that can be adapted to different tile types and bathroom setups.
Understanding Mold Growth on Tiles and Grout
Mold thrives in damp, poorly ventilated areas where organic matter is present. In bathrooms, tiles and grout provide porous surfaces that can trap moisture, soap scum, and skin cells. Grout, in particular, is more absorbent than glazed tiles, making it a common site for mold colonies. The dark discoloration often seen along grout lines is typically caused by mold or mildew that has taken hold in the porous material.
Temperature fluctuations and frequent water exposure contribute to persistent dampness. Showers, baths, and sinks release steam that condenses on tile surfaces. Without adequate airflow, this moisture remains on surfaces long enough for mold spores to settle and multiply. Recognizing that mold growth is a natural response to these conditions helps in setting realistic expectations for cleaning and prevention. No single cleaning session can guarantee permanent mold removal, but consistent care can minimize its presence.
Different tile materials also respond differently to cleaning methods. Glazed ceramic or porcelain tiles are relatively non-porous and easier to clean, while natural stone tiles such as marble or limestone require gentler approaches to avoid etching. Grout type—whether sanded or unsanded—also influences how deeply mold can penetrate. Understanding these factors allows for more targeted cleaning decisions.
Essential Cleaning Supplies and Preparation
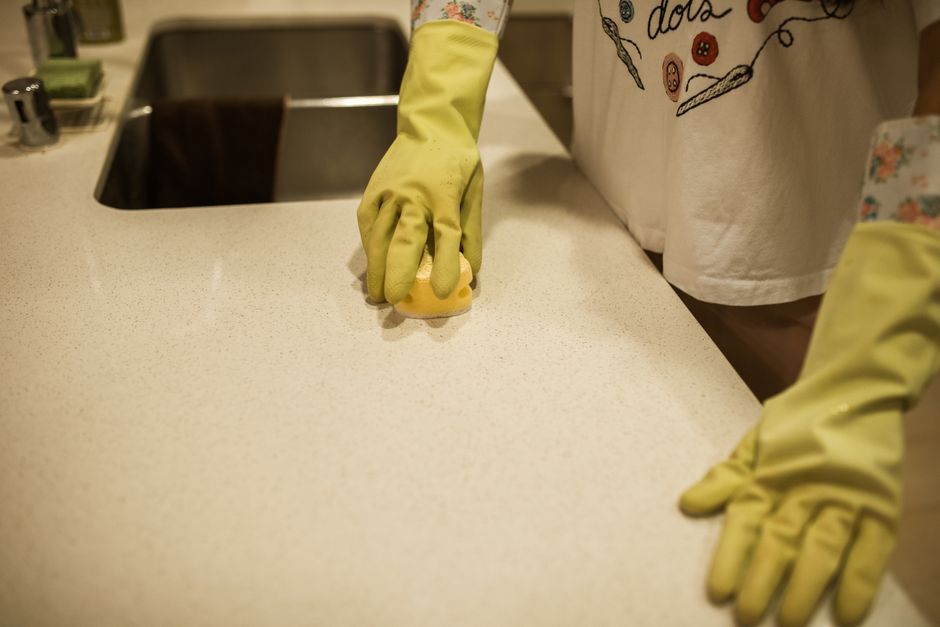
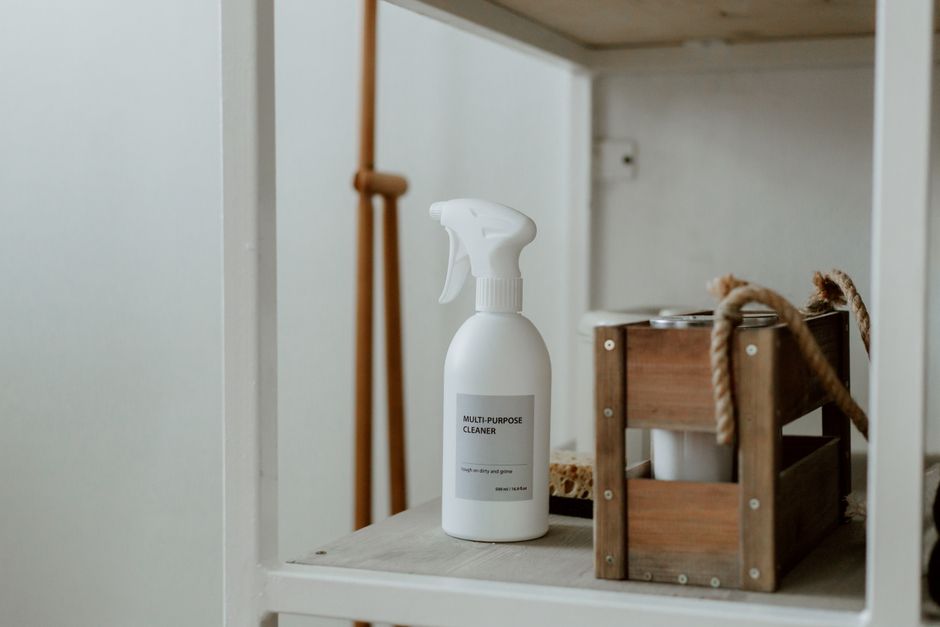
Before beginning the cleaning process, gathering appropriate supplies helps ensure efficiency and safety. Common tools include a soft-bristle brush or an old toothbrush for grout lines, a sponge or microfiber cloth for tile surfaces, and a bucket of warm water. For cleaning solutions, a mild detergent or a commercial tile cleaner suitable for the specific tile type can be used. Some individuals prefer a mixture of baking soda and water to form a paste for scrubbing grout, though results vary depending on the extent of mold.
Safety precautions are worth considering. Mold spores can become airborne during cleaning, so wearing gloves and a mask reduces exposure. Adequate ventilation—such as opening a window or turning on an exhaust fan—helps disperse airborne particles. Testing a small, inconspicuous area with any new cleaning product is advisable to check for adverse reactions on the tile or grout.
Preparation also involves removing items from the bathroom that might be affected by cleaning splashes, such as towels, rugs, and toiletries. Clearing the area around the shower or bathtub allows for unobstructed access. If heavy mold is present, a pre-treatment step—such as lightly spraying the affected areas with a diluted cleaning solution and letting it sit for a few minutes—can loosen the mold before scrubbing.
Step-by-Step Cleaning Methods for Tiles
Cleaning bathroom tiles typically begins with rinsing the surface with warm water to remove loose debris and soap residue. A sponge or cloth dampened with a mild cleaning solution can be used to wipe down the tiles in a consistent pattern, working from top to bottom. For glazed tiles, a pH-neutral cleaner helps avoid dulling the finish. Rinsing thoroughly after cleaning is important because leftover cleaning agents can attract dirt or leave a film.
For tiles with stubborn soap scum or hard water stains, a mixture of white vinegar and water (in a ratio of one part vinegar to four parts water) may be applied. However, vinegar is acidic and should not be used on natural stone or unsealed grout, as it can cause damage. In such cases, a commercially available cleaner formulated for the specific tile material is a safer choice. Scrubbing with a soft brush addresses areas where buildup has accumulated, particularly around corners and edges where water tends to pool.
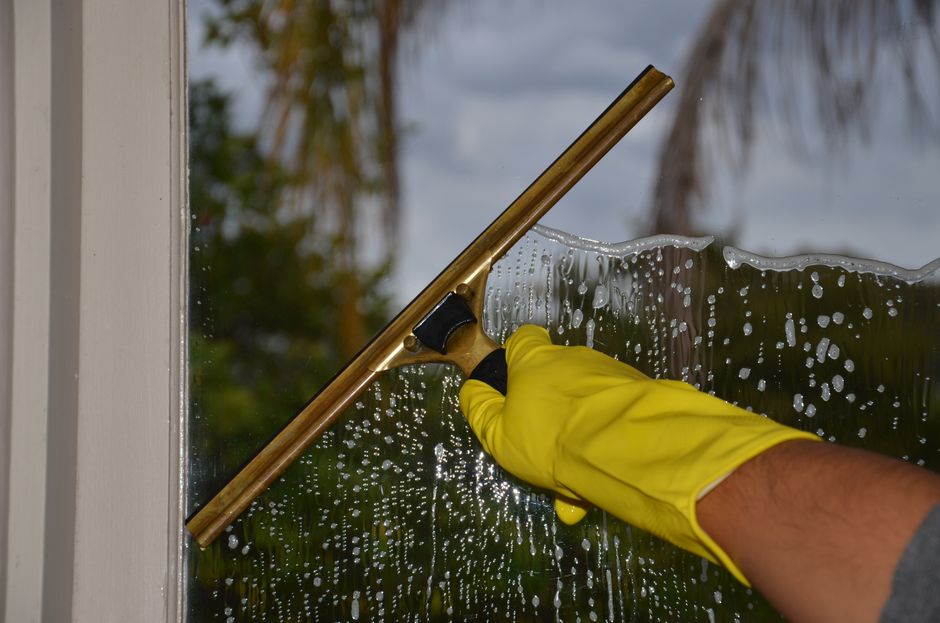
After scrubbing, a final rinse with clean water removes any remaining residue. Drying the tiles with a clean towel or squeegee reduces moisture that could encourage mold regrowth. Incorporating drying as a routine step after each shower can make a notable difference in maintaining tile appearance over time. While this method does not eliminate existing mold deep within grout, it addresses surface-level dirt and reduces the organic material that mold feeds on.
Grout Cleaning Techniques
Grout lines often require more intensive care because of their porous nature. Mold that has settled into grout may appear as dark speckles or streaks that are not easily removed by surface wiping. A baking soda paste applied directly to the grout and left for 10 to 15 minutes can help lift stains. Scrubbing with a small brush—such as a toothbrush—in a circular motion loosens the mold from the pores of the grout.
For more persistent mold, a solution of hydrogen peroxide (3% concentration) can be used. Hydrogen peroxide works as a mild bleaching agent and is less harsh than chlorine bleach, making it suitable for colored grout. After applying the solution, letting it sit for a few minutes before scrubbing can enhance its effectiveness. Rinsing the area thoroughly afterward is necessary to remove any residual chemical.
In cases where grout is heavily discolored or damaged, cleaning may only provide temporary improvement. Grout that has become degraded over time may need to be removed and replaced. Sealing the grout after cleaning can create a barrier that reduces moisture absorption. Grout sealants are available in various formulations, and following the manufacturer’s instructions for application and reapplication intervals helps maintain the seal. It is important to note that sealing does not make grout completely waterproof; it simply reduces the rate at which moisture penetrates.
Preventing Mold Through Ventilation and Routine Care
Ventilation is one of the most influential factors in mold prevention. Bathrooms without windows or adequate exhaust fans tend to retain humidity for longer periods. Using an exhaust fan during and for at least 15 minutes after showering helps remove moist air. If no fan is present, leaving the door open when the bathroom is not in use can promote air circulation.
Routine care extends beyond occasional deep cleaning. Wiping down tile surfaces with a squeegee or towel after each shower reduces standing water. Keeping shower curtains or doors open to allow air to circulate also helps dry out the area. Regularly washing and replacing bath mats and towels prevents them from becoming reservoirs of moisture.
Monitoring for early signs of mold—such as small dark spots on grout or a musty smell—allows for prompt attention. Addressing small patches before they spread can simplify cleaning efforts. While no single habit guarantees mold will never appear, combining regular cleaning with proper ventilation and moisture control creates an environment less conducive to mold growth. Each bathroom is unique, and adjustments based on usage patterns and layout may be needed to find an effective routine.